November: Everything announced at the uControl Keynote
"uControl has all the ingredients of a sophisticated, professionally-installed smart home control system."

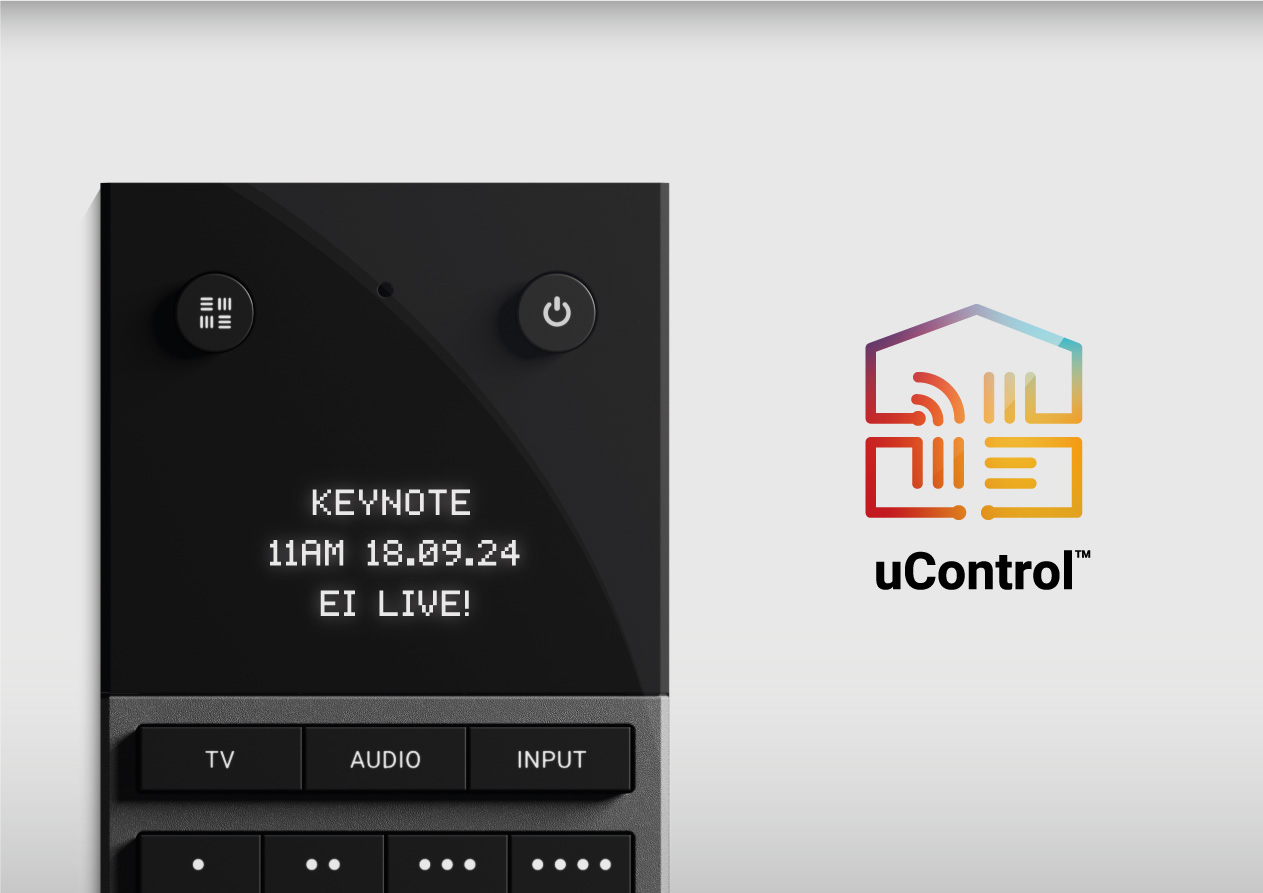
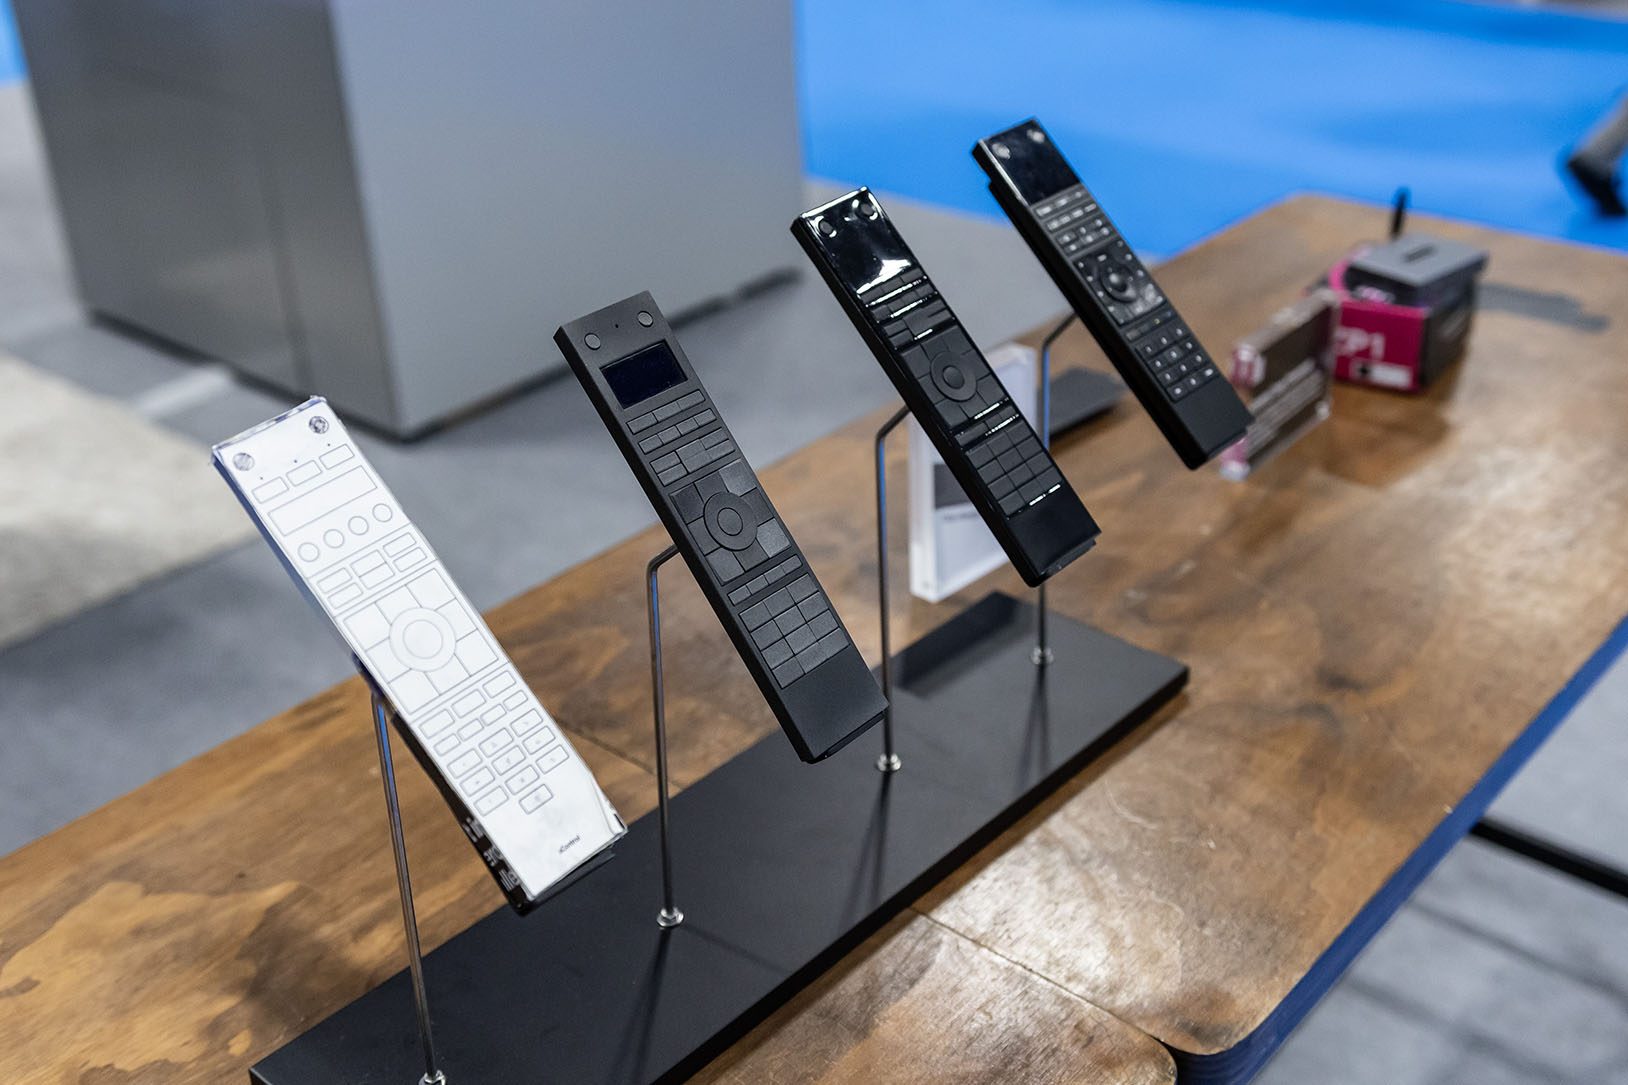
Chris Pinder reveals a surprise aluminium version of the uControl Remote to audiences at the uControl Keynote - EI Live! 2024, UK.
The HDA keynote surprised the audience with two new uControl smart remotes, plus dedicated single and multiroom control processors, a "wall-mode" app version, deeper Sonos integration, and Apple Intelligence for voice control.
Focusing on control of media, music, lighting, smart plugs, blinds and shades, uControl is an uncomplicated smart home ecosystem, offering integrators a breakthrough solution in mid-market home automation.
WATCH INSTEAD: links to video clips from the keynote detailing everything that was announced:
- The all-new uControl Remote
- A redesigned uControl App, including the new Wall Mode interface.
- Expanded voice control with Siri and Alexa.
- Apple Intelligence and Sonos integration.
- The new uControl Rithum Switch Pro keypad.
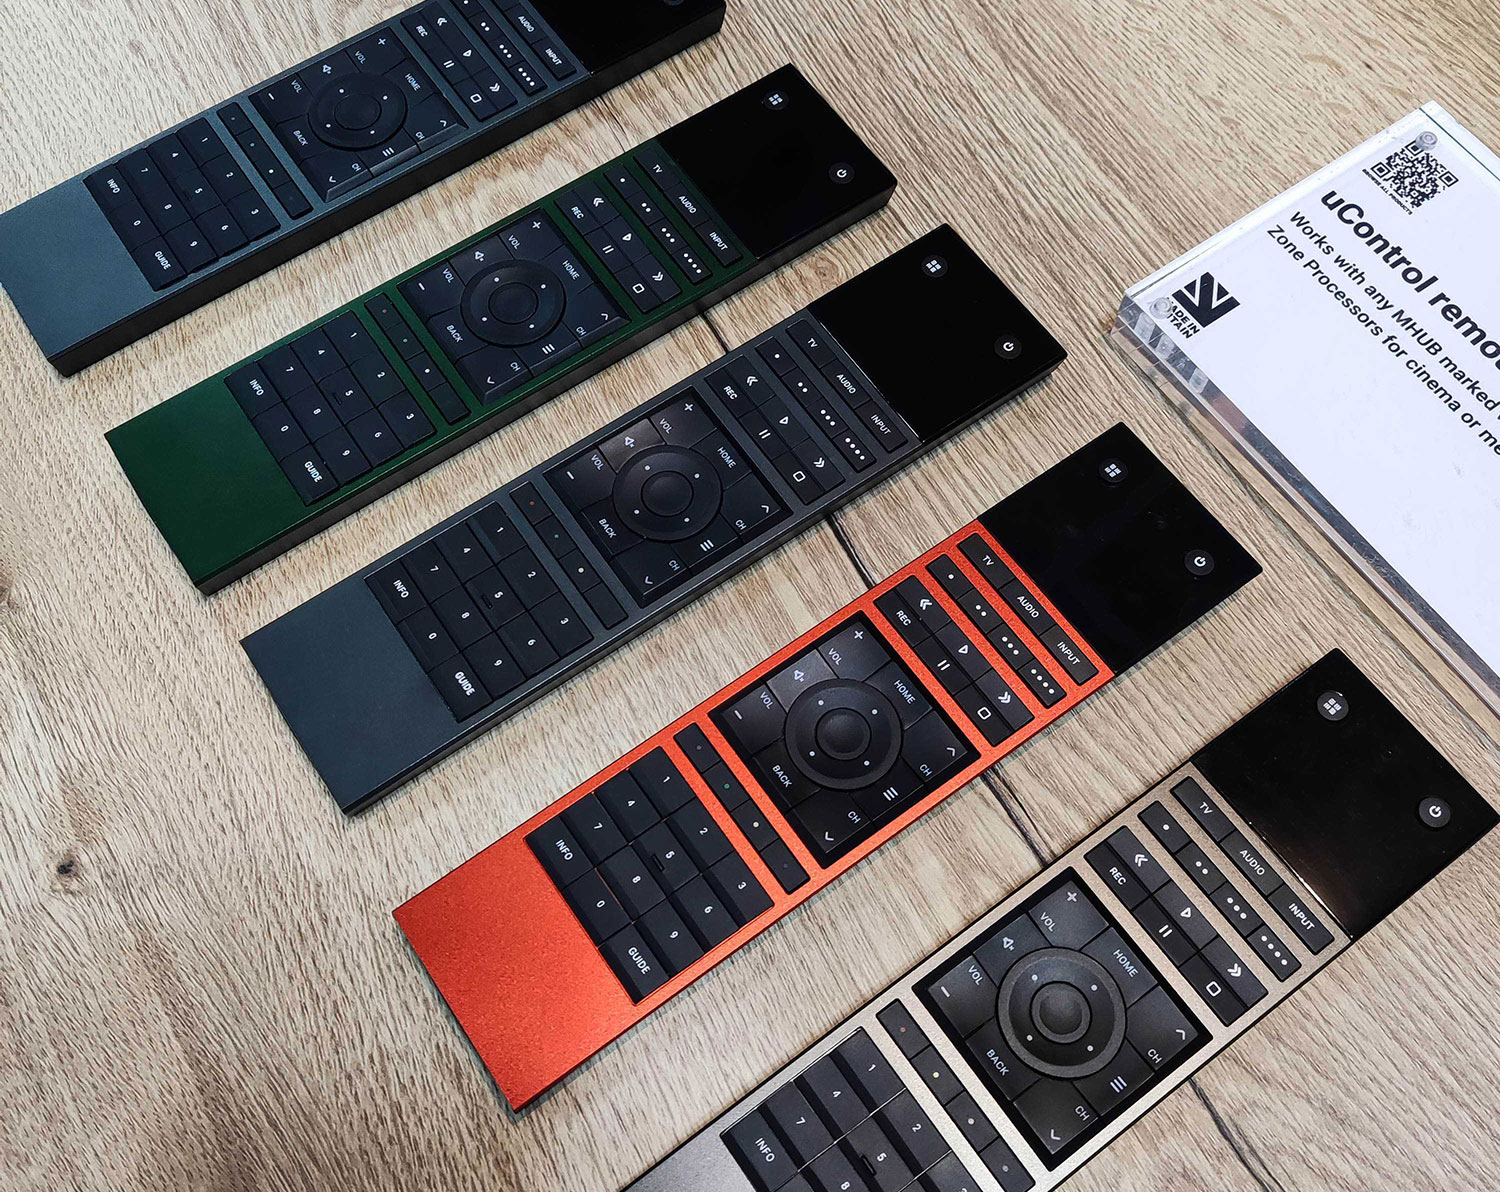
We surprised visitors with an aluminium version of they uControl Remote, available in multiple colours.
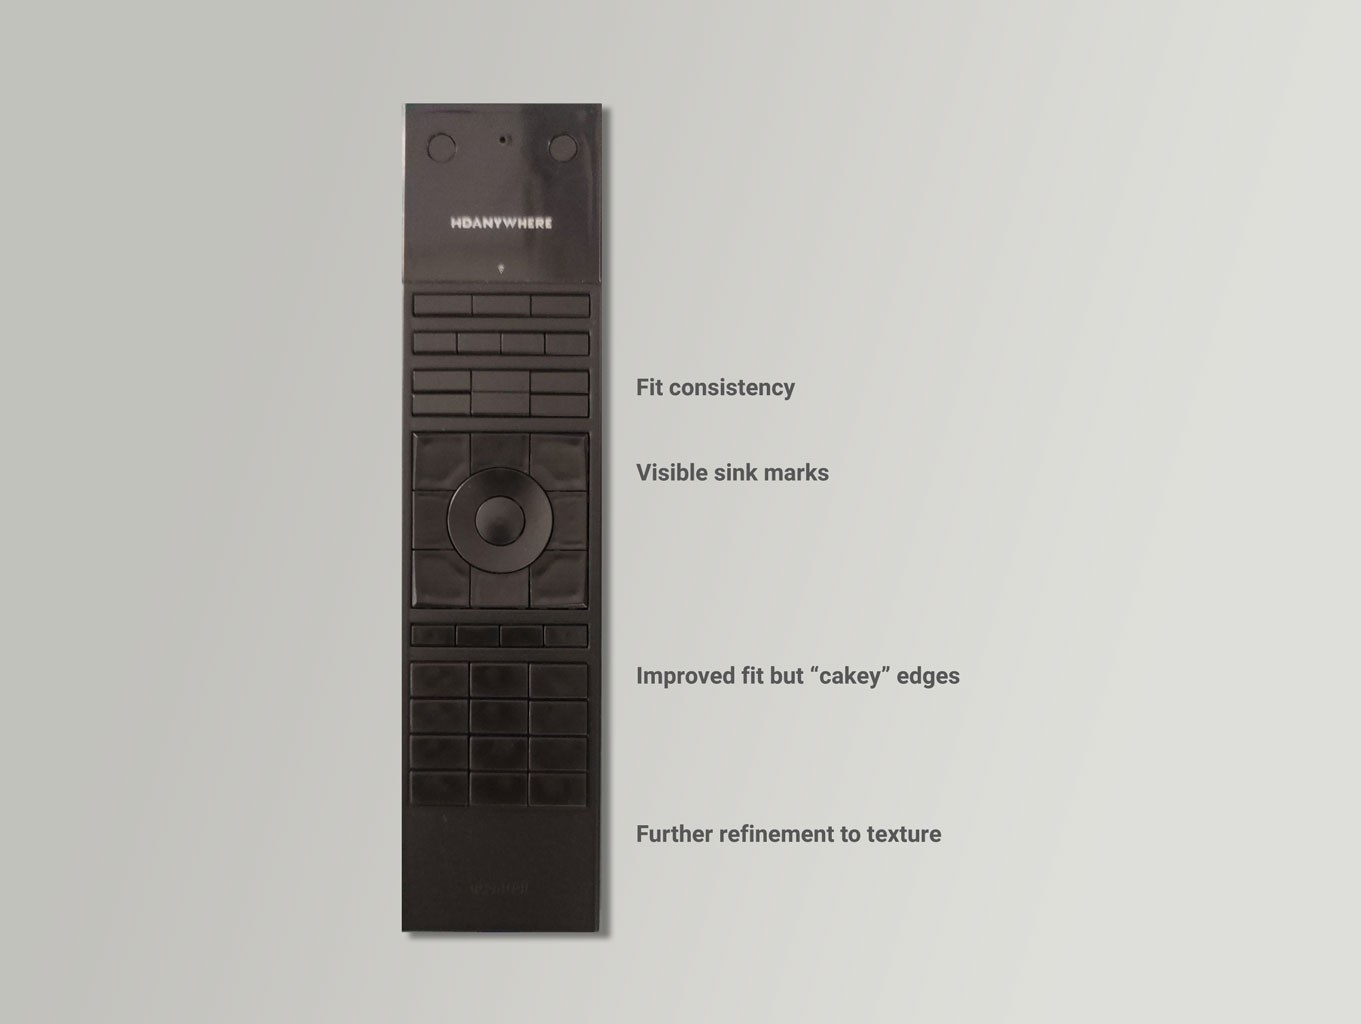
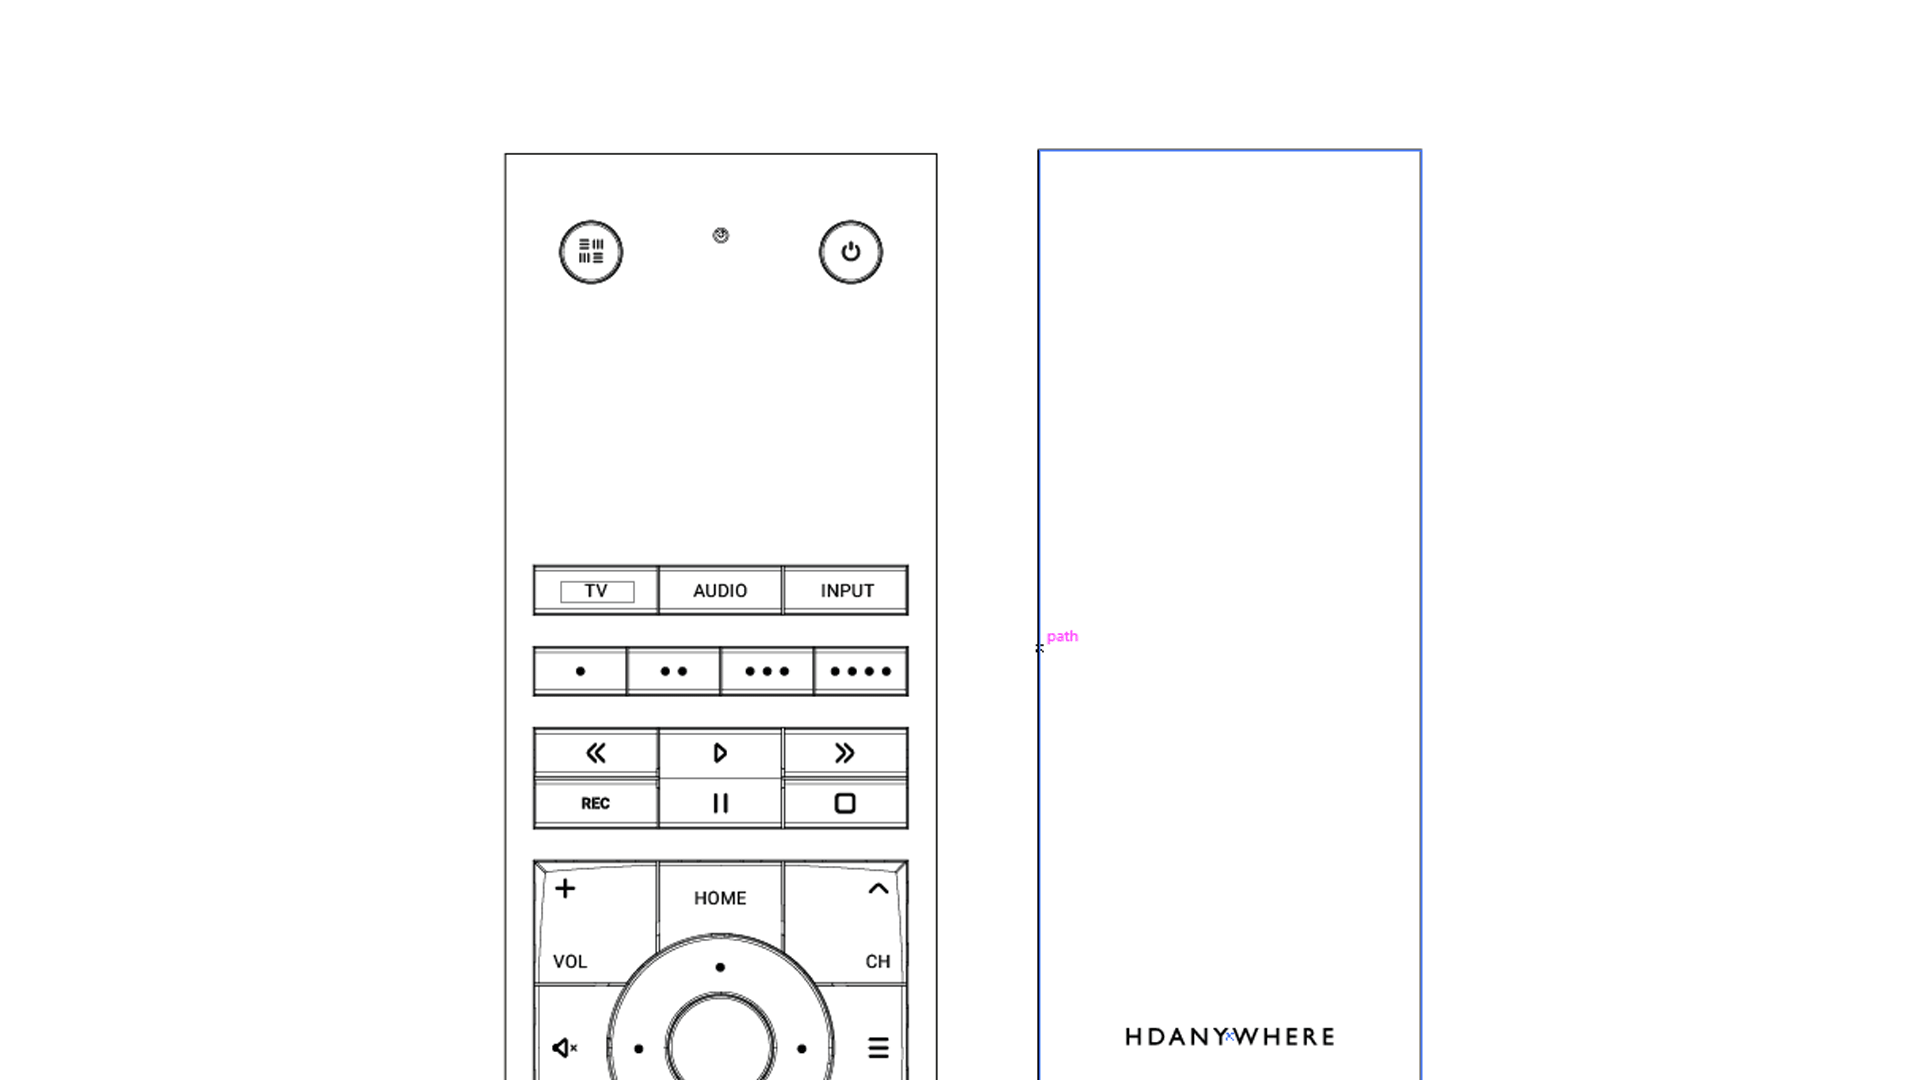
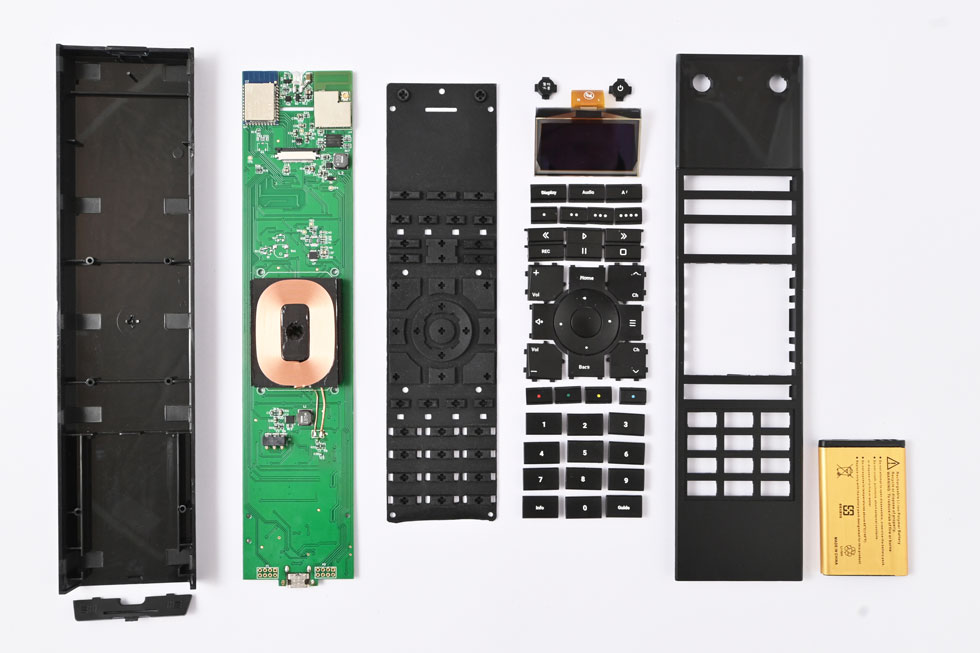
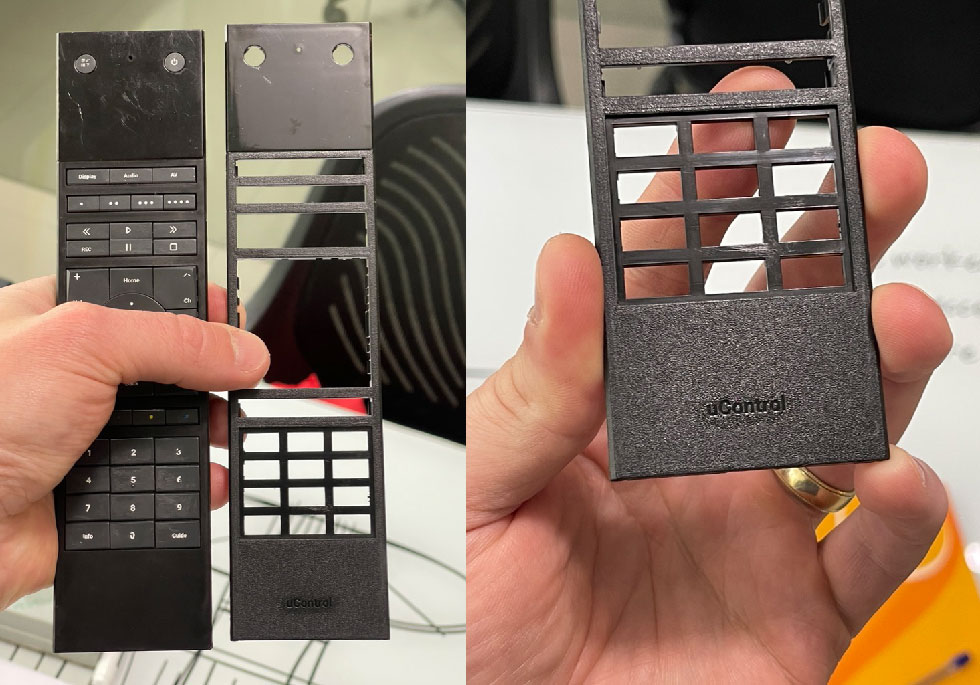
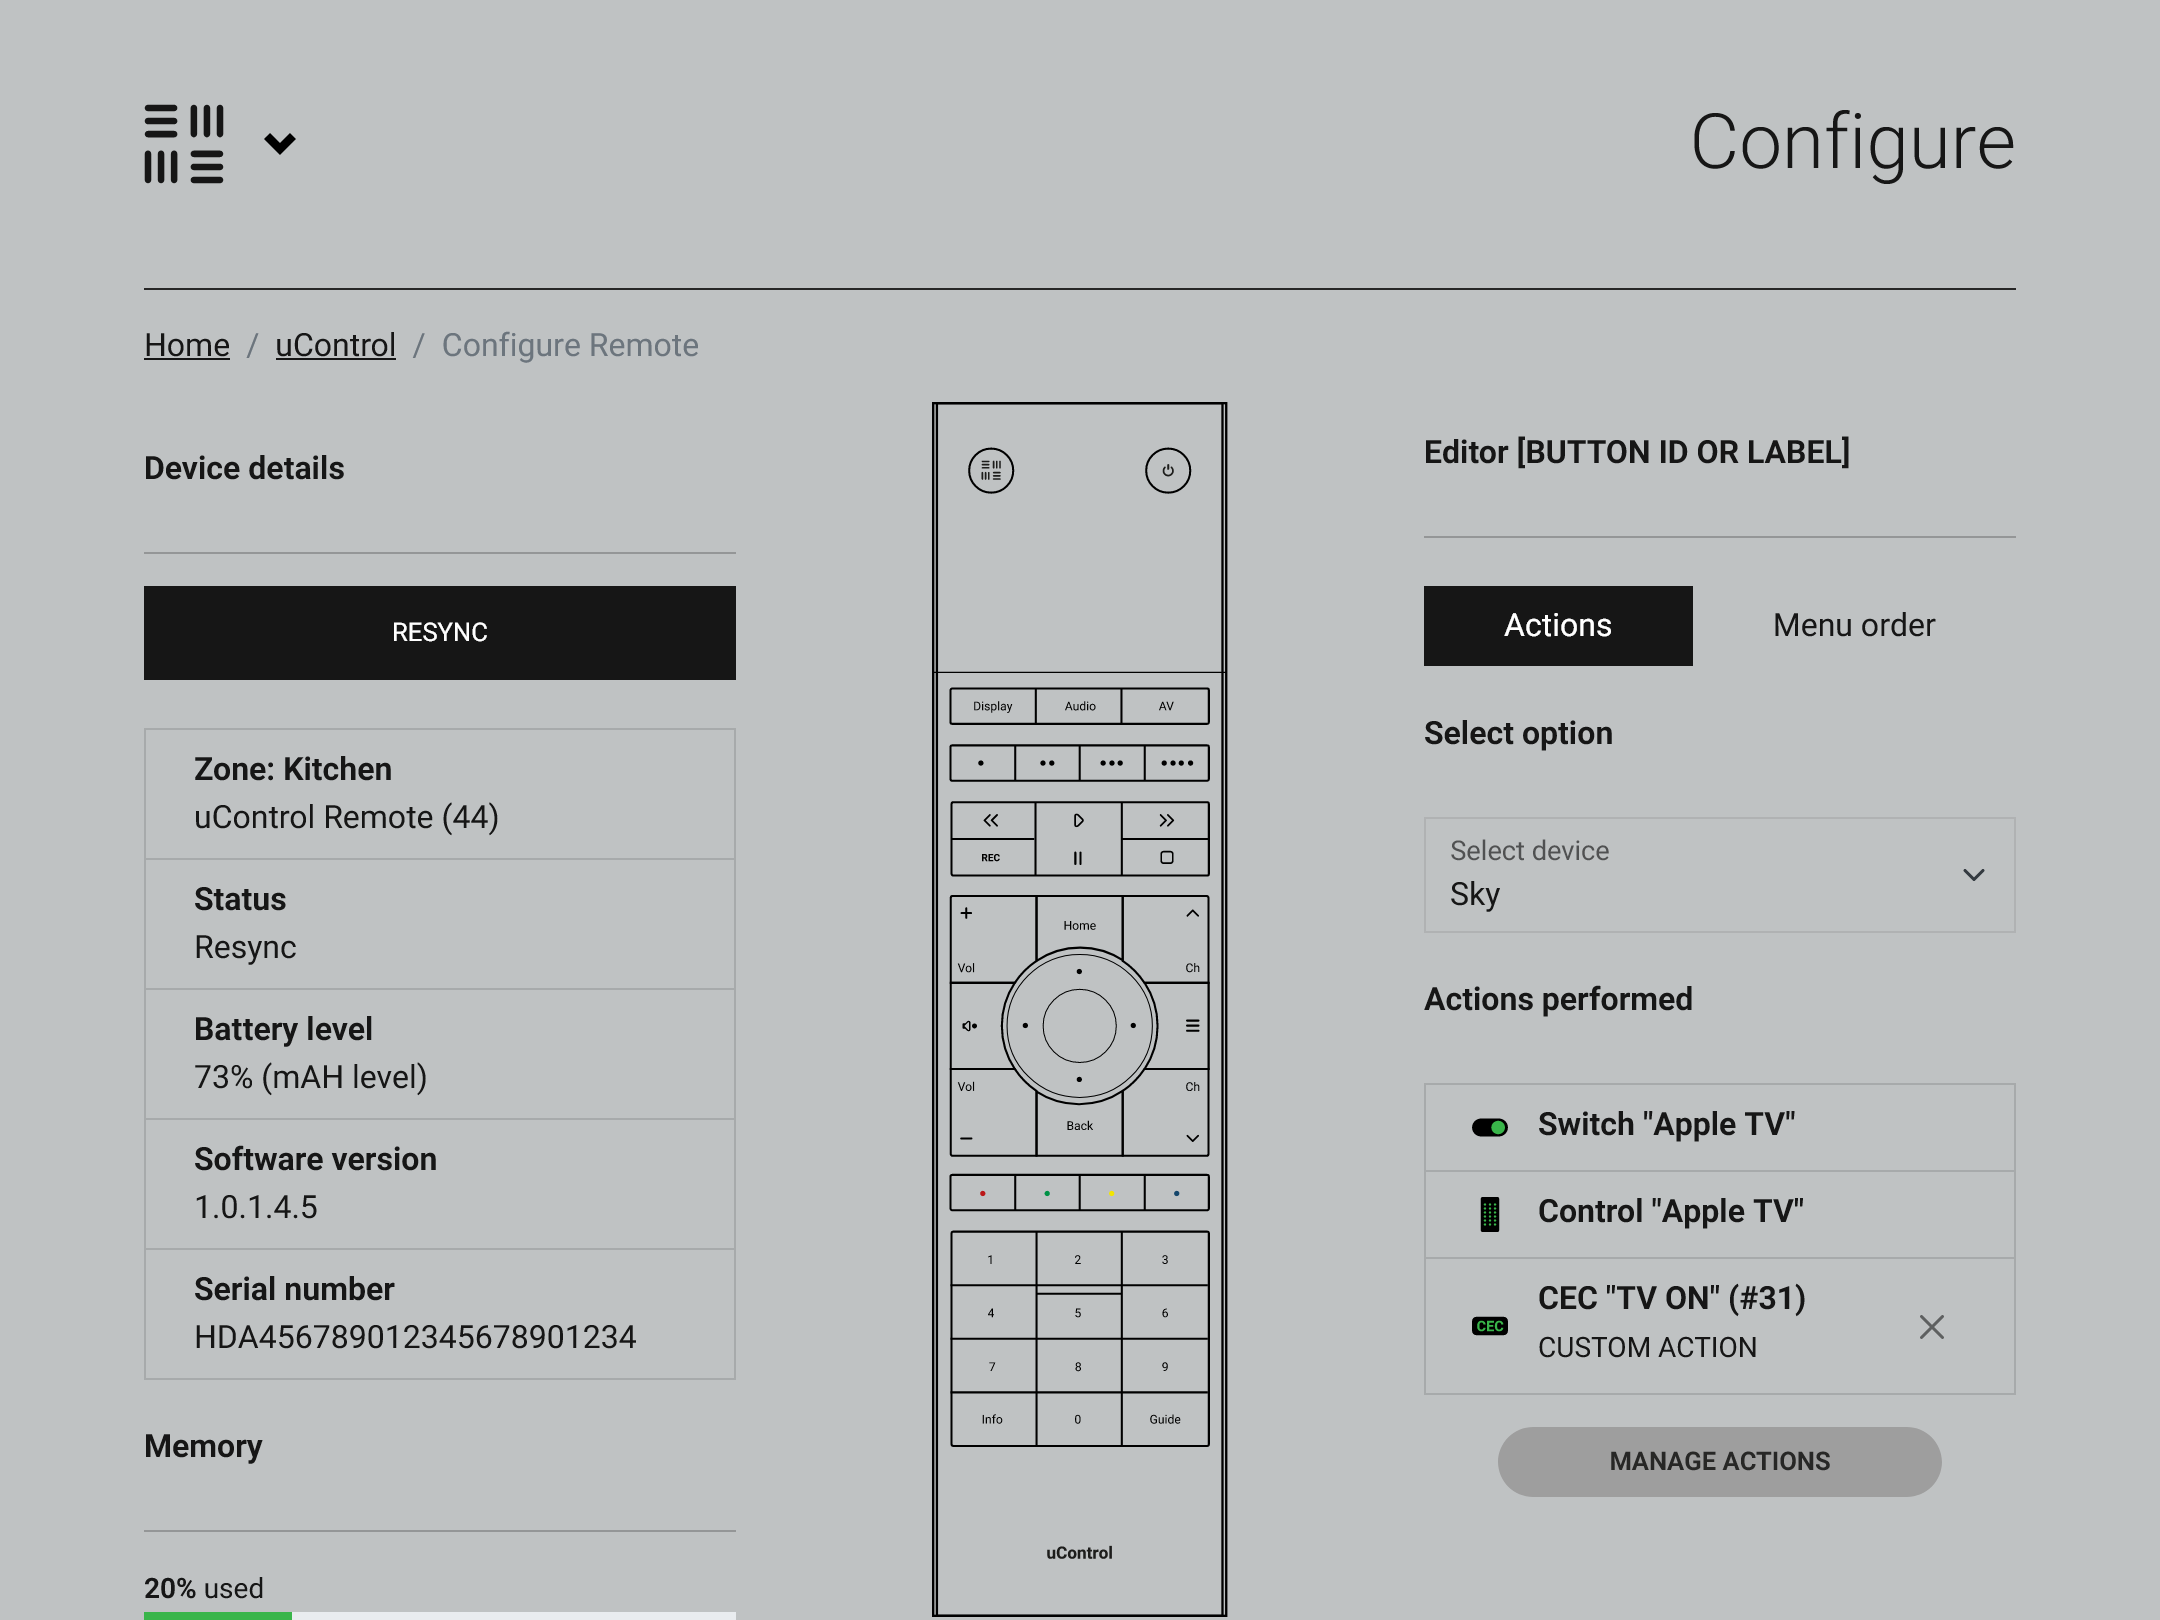
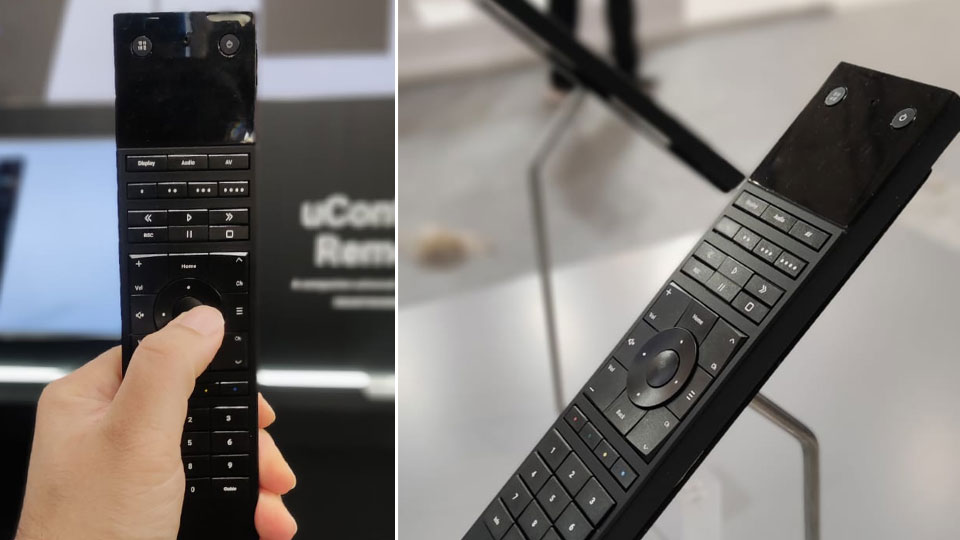
The star was the new uControl Remote. This sleek, universal remote consolidates control of all home systems, from AV and lighting to shades, with tactile buttons and customisable sequences. Thanks to Wi-Fi and BLE connectivity, it offers an instant-on response for a seamless user experience.
uControl App is completely redesigned.
We surprised visitors with an aluminium version of they uControl Remote, available in multiple colours.
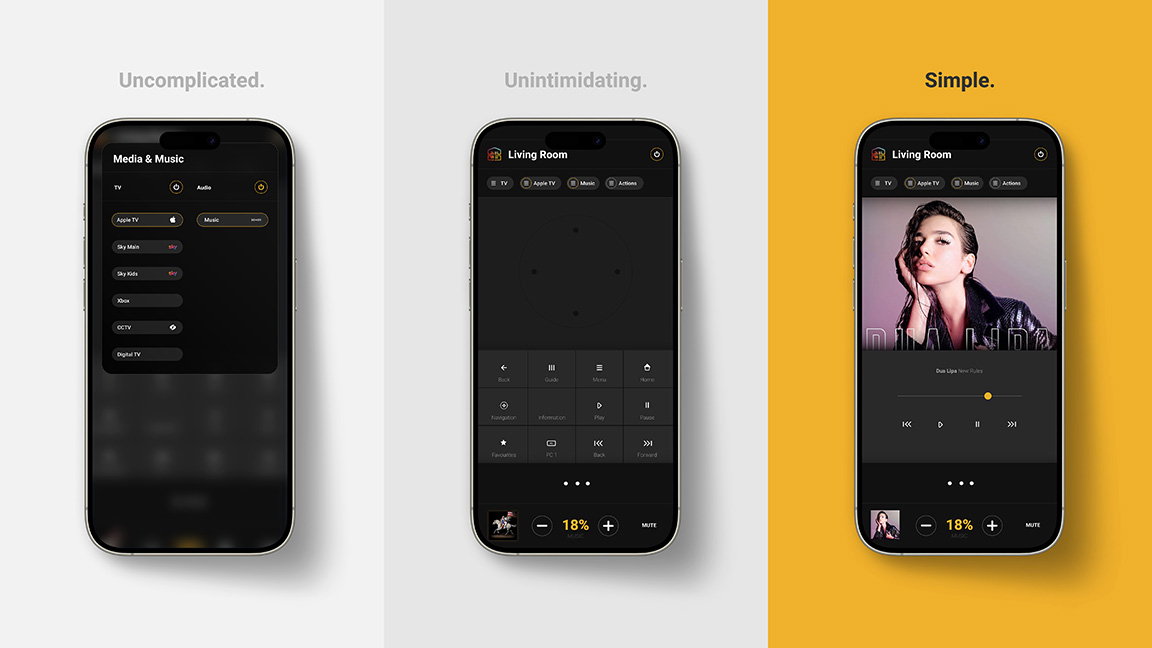
The redesigned uControl app is all about speed and ease. With a streamlined interface, users can control media, lighting, and music in just two taps. Navigating devices and scenes is now smoother and faster, enhancing the experience for both homeowners and installers.
New interface type in Wall Mode.
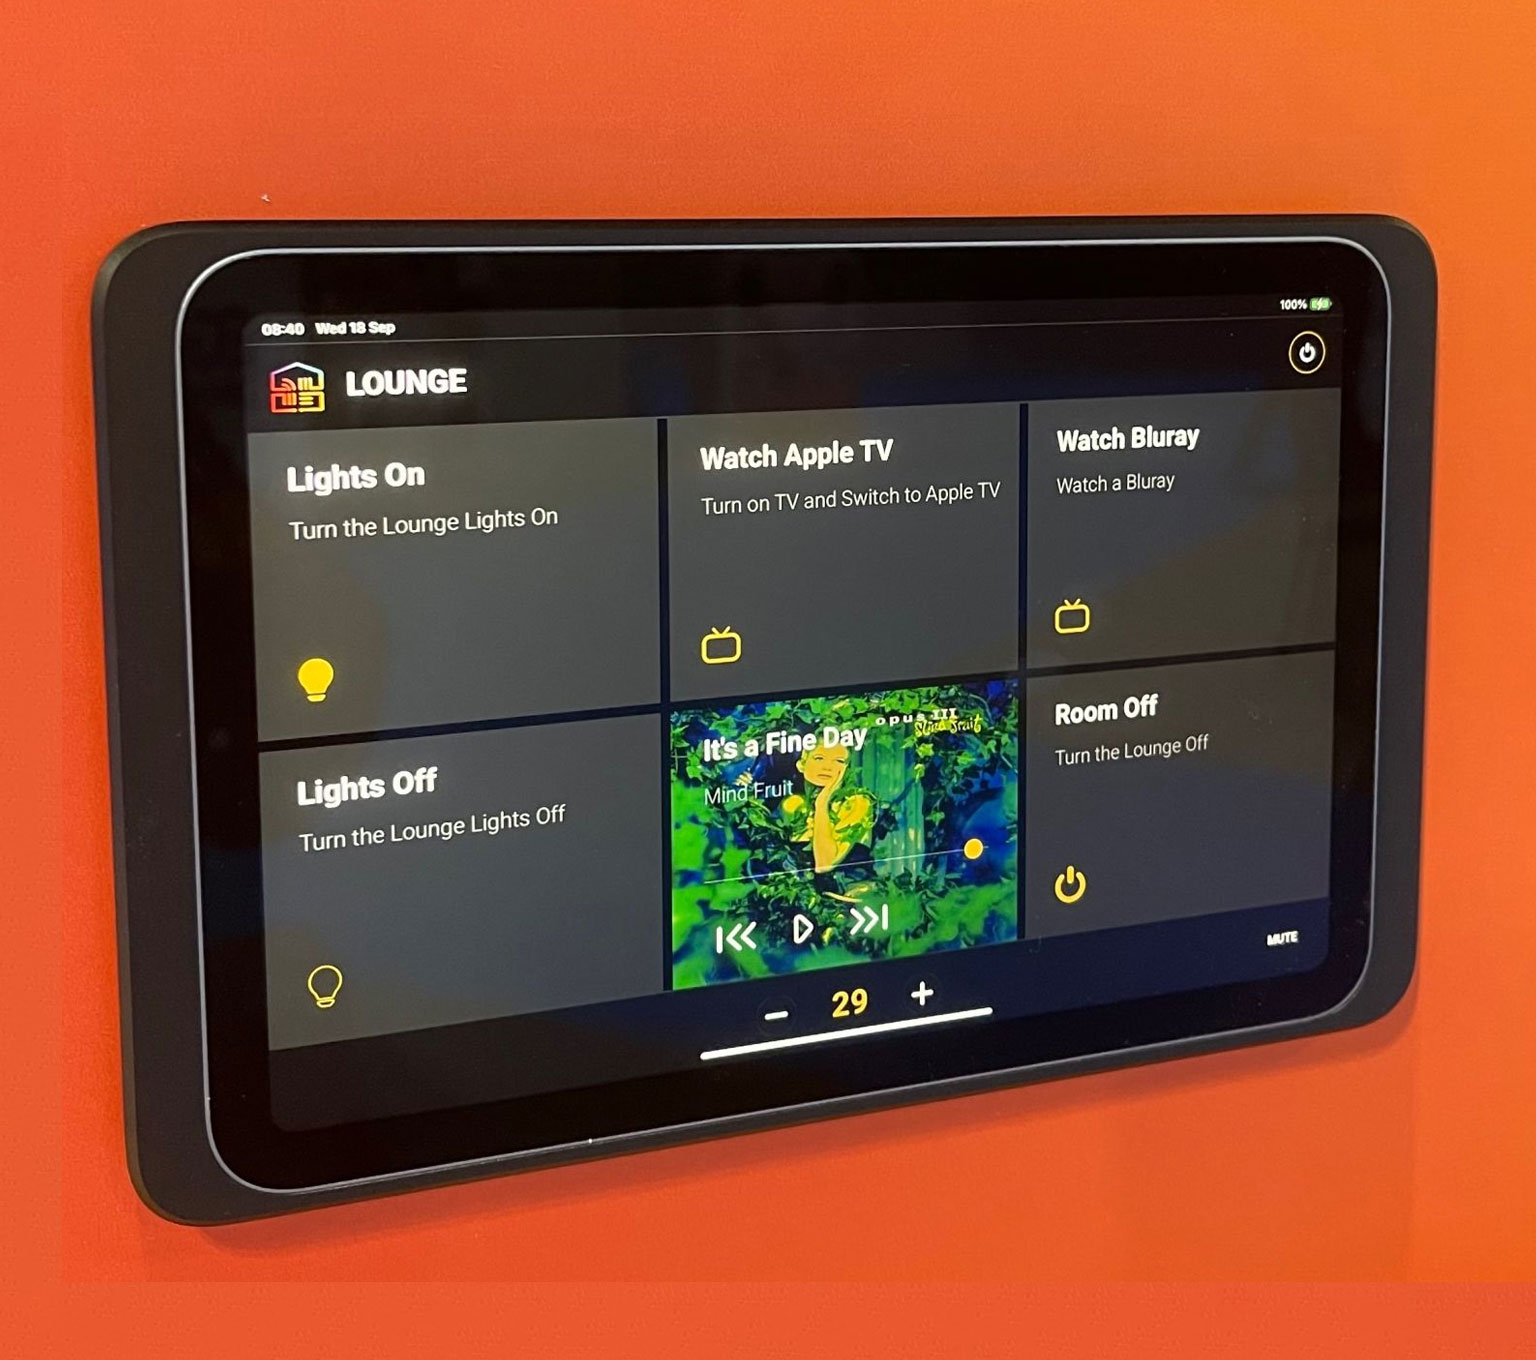
A new interface type is added to uControl's repertoire.
Introducing Wall Mode: a sleek, minimalist interface designed for wall-mounted tablets. Control multiple rooms, adjust lighting and shades, and more. Perfect for high-traffic areas, Wall Mode offers effortless and stylish control at your fingertips.
Voice control with Siri Intents & Amazon Alexa.

Siri is added to uControl's voice support via iOS App Intents.
Voice control is a core feature of smart homes, and with uControl + Siri and uControl + Alexa you can dim the lights, crank the tunes, or manage your entire home with simple, hands-free commands.

Dillan Pattni talks about adding Apple Intelligence to uControl.
Leveraging AI for more more human forms of control.
uControl is taking smart home automation further with Apple Intelligence. Use Siri Shortcuts on your iPhone or iPad for effortless home management, or point your device at objects to trigger scenes with Siri's AI smarts.
A surprise! SONOS to be integrated into uControl.

SONOS will be integrated directly into uControl for full volume and playback control.
uControl now offers deeper Sonos integration, making it easier than ever to control music throughout the home. From the app or remote, users can quickly switch between speakers, adjust volume, and personalised playlists.
Introducing the uControl Rithum Switch Pro.

Add smart switches to your uControl project with the uControl Rithum Switch Pro.
Designed in partnership with Rithum, this PoE-powered wall-mounted keypad provides quick access to lighting, media, and sequences, offering a tactile control experience that complements the digital interface.
All MHUBs after 2022 are ready for new features.

uControl controllers are in thousands of homes already with MHUB featuring uControl inside.
MHUB systems, with ‘uControl inside’, serve as central media hubs for seamless smart home control. Upgrading your clients existing MHUB setups to the latest uControl features is simple. With the new remote and app, now is the ideal time to enhance your clients' smart home experience.


